
This page details the final 6 months preparation for the ARC 2013 before our departure (aimed at easing the download requirements of our image oriented site). Possibly more will happen in the last 6 months than have taken place over the entire preceding 18 months?
T-6 Months
Finish milling anodes
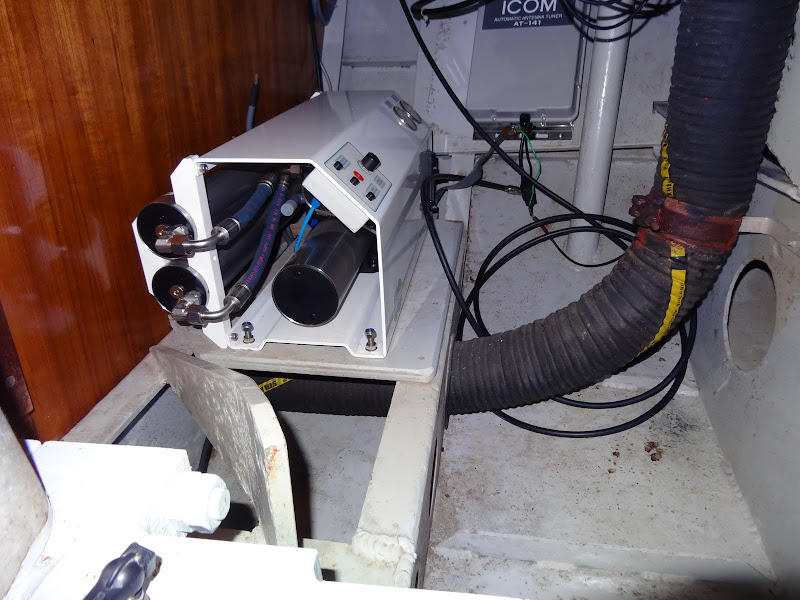
Fit Watermaker – a substantial, heavy and relatively large unit in need of a home without sacrificing prime storage space. A new challenge. This is an energy recovery unit with auto-flush and the low power consumption plus 24V operation set it apart from other options. If the genertor goes down we can still run the watermaker off engine & battery whereas the 240v versions were fully reliant on the generator.


Looking for a place to fit the pump, membranes and filters. We don’t have much by way of bilges as it’s all tankage so we are likely to be losing prime storage space under a saloon bunk.

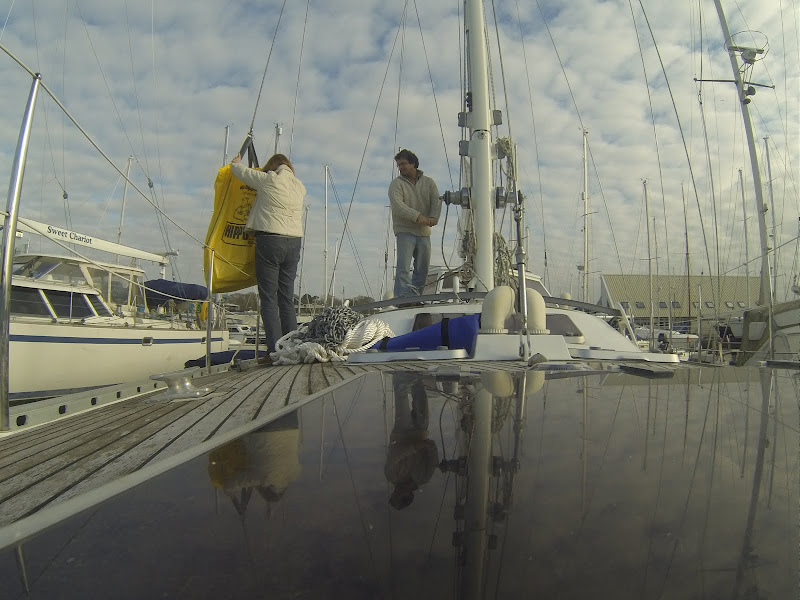
Onboarding the watermaker – throw down the bag (an air bag?)
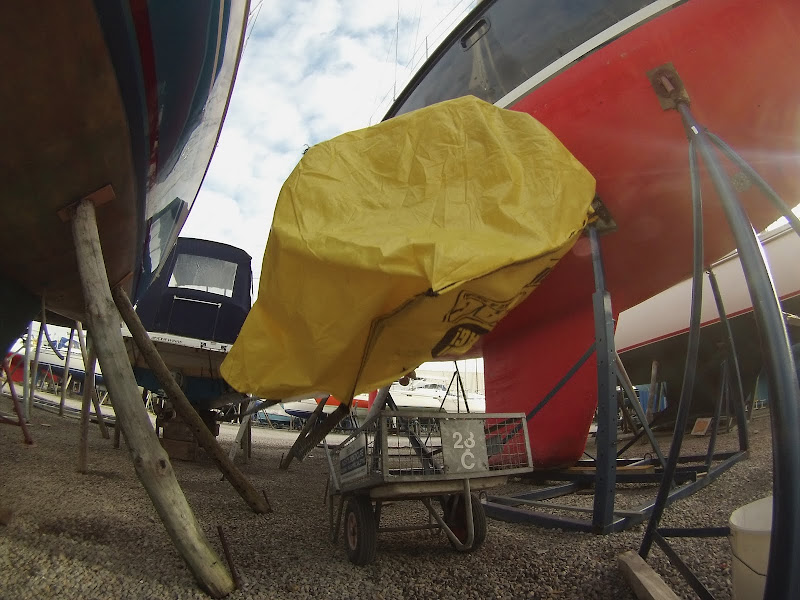
Winch up the watermaker

Watermaker is welcomed to it’s new home
The main unit on deck

Will this be the watermaking compartment?

Alongside the 24v pump

The sacrificing of prime locker space was causing anxiety and the search for an alternative site commenced. The challenge is not the fitting of any one unit making up the watermaker but the combination of power unit, pump and filters, accumulator & filter, and all of the water lines together with power cables. The alternative site for the membranes is the transom where the old SSB power unit used to sit:
The old SSB power cables will meet the 16 sqmm cross-section requirement and the fresh water supply for auto-flushing will be taken from a tee into the transom shower cold water supply.
We need to clean the transom area thoroughly with sweet water as there are some small balls of salt in a couple of dark coners. Flushing the hull is a strange concept but aluminium is all the better for it.

The secondary filter and power unit are bulkhead mounted
Eventually it was decided that we would use the pre-existing through hull fittings that had effectively been made redundant. That gave rise to the need to find a match for the existing fittings in order to plumb into them.


PVC Plumbing valves and reducers along with hose tails of differing sizes
An original valve T’eed to also feed the watermaker. The other branch is not used and although now fitted with a stopcock will be re-fitted with a ball valve.

The watermaker pump is being lined up within an aft section of the hull. More cabin furniture has been taken apart to run hoses and control cables from the rear cabin to the transom area. We are a some way from being done as there is a fresh water supply to feed to the watermaker pump filters for flushing, hoses for brine output to find as the sizes are unusual, and the desalinated water feed to take back to the water tank.
We will be fitting a remote control panel. Electrics boil down to the need to fit a 24V/25A circuit breaker somewhere sensible.

The brine output from the watermaker is now routed to the through hull fitting and the ball valve is in place. Looking at it now perhaps it would have been better to stay with a large bore valve rather than sleeve down to a small valve at the elbow purely from an apparent strength perspective. But then the clearance between the two valves would have been minimal if in fact they could fit side by side. Now to rebuild the wardrobe.

The sea water inlet valves and tubing is now in place to the first stage filters and high pressure pump. This may not be the final routing for the inlet tube as there are possibly a further two tube lines to incorporate in this area; the fresh water flush abd fresh water tank filling line.
Running the 12m sweet water line to the water tank 
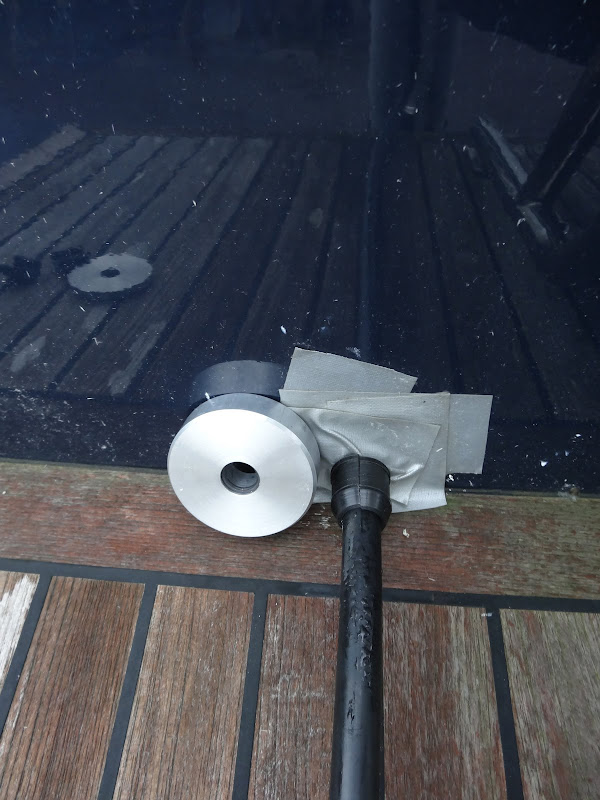
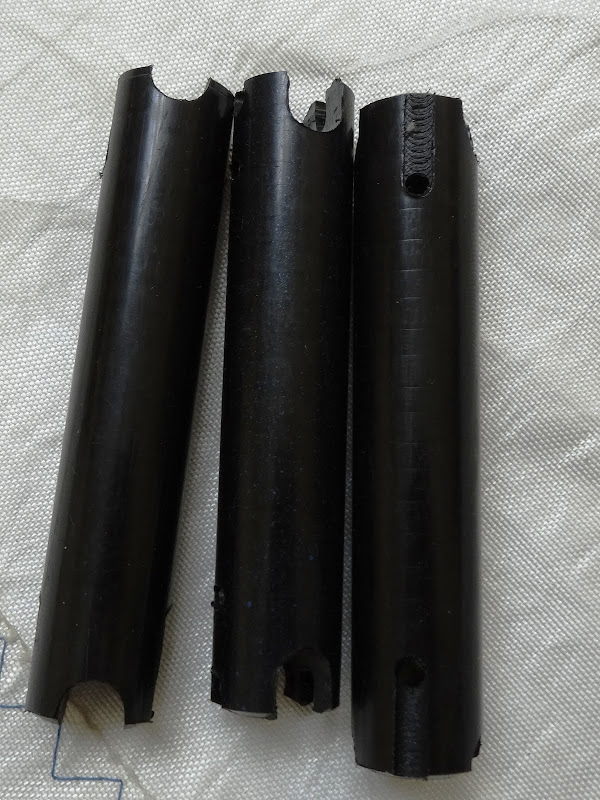
Hydraulic Backstay Transom Seal
Make a seal for the hydraulic backstay oil line in the transom where it enters through the base of the bathing platform.
Starting with marine grade aluminium

Shaping and drilling a 16mm hole
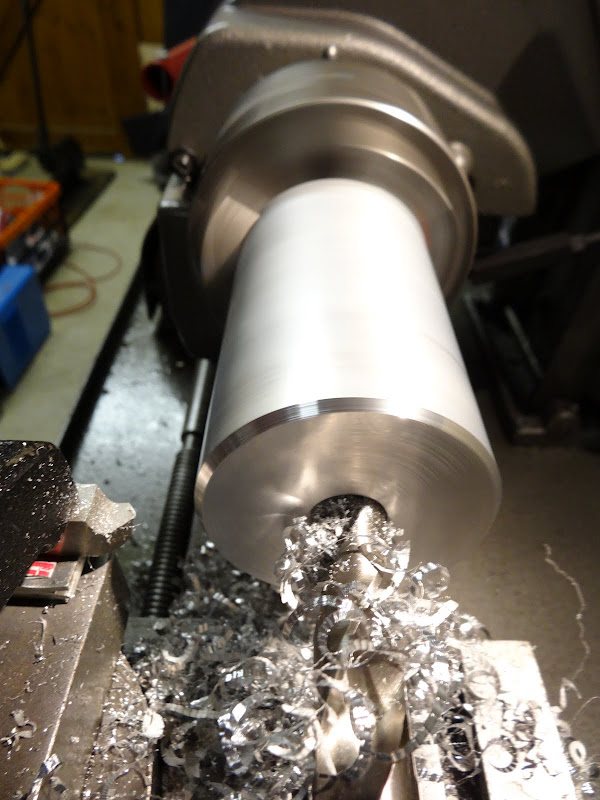
Two finished blanks for internal and external fitting

With o-ring seals let in a prototype is completed for consideration but we know there are issues – the hydraulic hoses have crimped fittings of greater diameter and in any case do we want to break the connections when there is a good seal across all connection points?

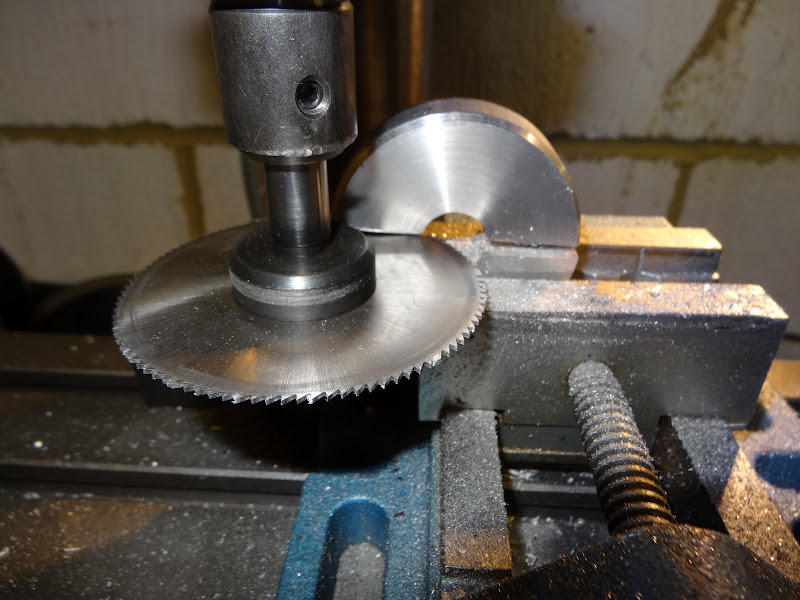
The solution may have to develop in the direction of a split clamp with a split conical insert and that line of thinking is already creeping in with the machining of a split nylon hose clamp
Having decided not to break the hydraulic hose a split collar has to be engineered

Making the grove to lock the two halves in a tongue and grove type fitting

a clean cut with a slitting saw
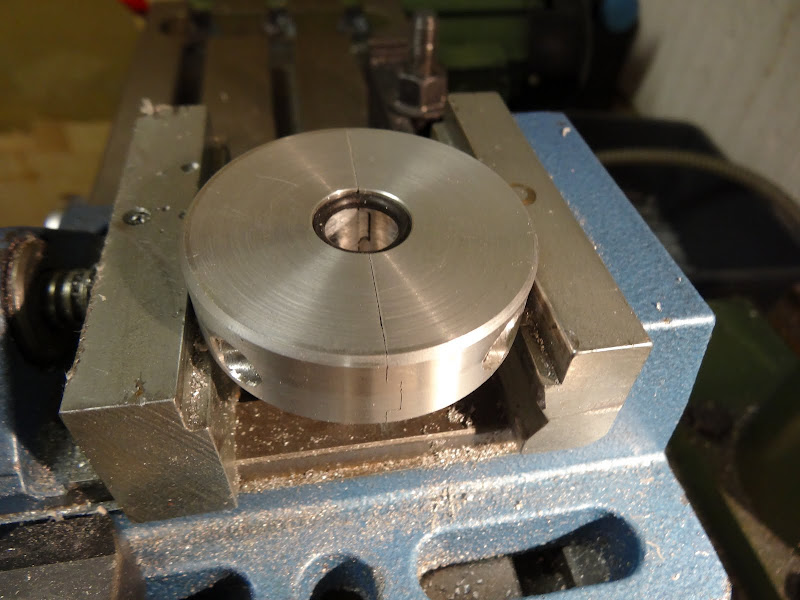
leaving two ‘partial’ halves to be aligned in the 4 jaw chuck

redrilled in the cente

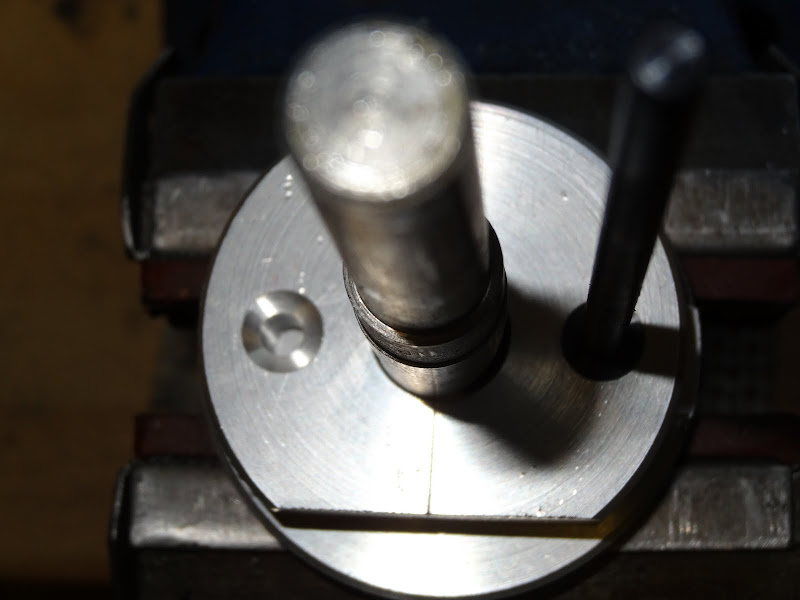
and turned again bevelling the exit point

Completed with o-ring seal
External and internal seals

Internal seal closed

transfer punched
and ready to fit and perhaps paint when the weather improves – how many machining processes and tool changes did this take to complete….prepare to get covered in duralac again.

And finally fitted

With just 25 weekends and a couple of bank holidays to complete the yacht refit and pack up shore life the design and prototype fittings all of which are intended to be epoxy colour matched and sprayed to match the hull may be over taken by the need for speed.
Snow! Work has slowed due to the snow which brings Britain to a standstill. We are short of measurements for steel rail diameters and similar dimensions which means even indoor fabrication works have been temporarily suspended. We have allowed for 2 weekends to be wiped out by such interruptions. As a last resort we made an aluminium camera mount.
Month T-5
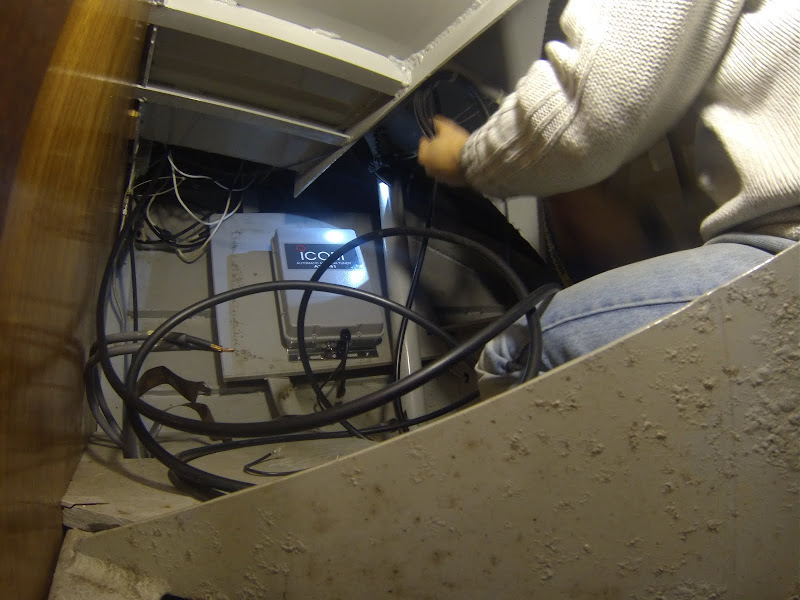
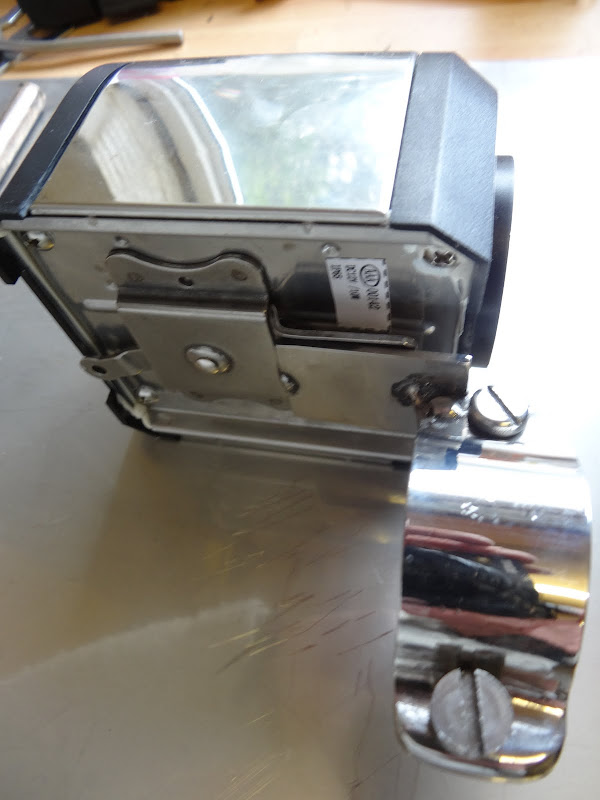
Fitting of the SSB tuner in the transom – the old tuner was substantial in size and weight so the old mount is perfect

It’s a tight space to work in – more boat yoga

The fitting was simple; for once a genuine 10 minute job

But the terminals on the AT141 are tiny – maybe M4 or M5 – OK for an engineer working with easy reach in perfect light and acces at a desk! Trying to stretch round obstacles and do up tiny wing nuts on very small connecting studs made me think that this had never been tested in the field!

Securing heavy 8mm co-ax cable via the tiny stud is totally unsatisfactory. Iciom want you to use an inter-connecting wire but what’s the point of adding yet another connection? This issue will have to be revisited later. Fitted with a copper strap taken to the ground plate.
Companionway instruments
Complete instrument fitting above companionway (time-lapse video)
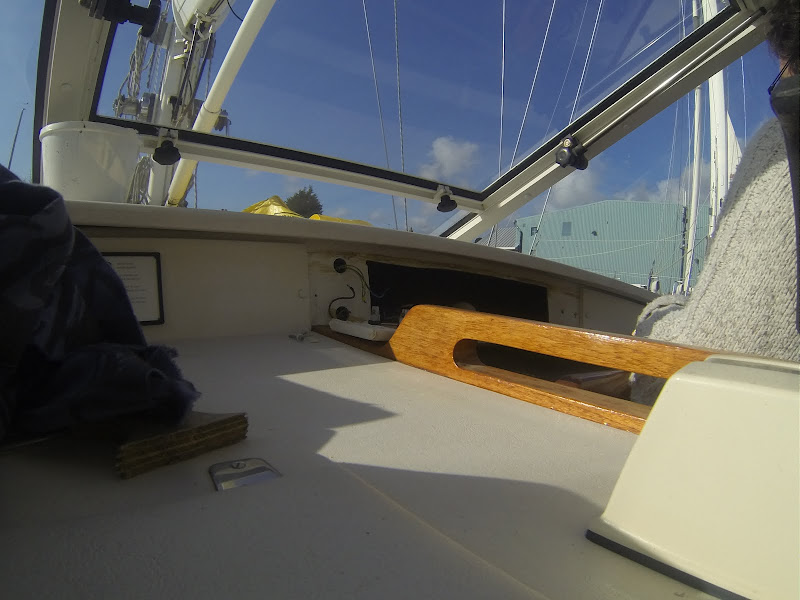
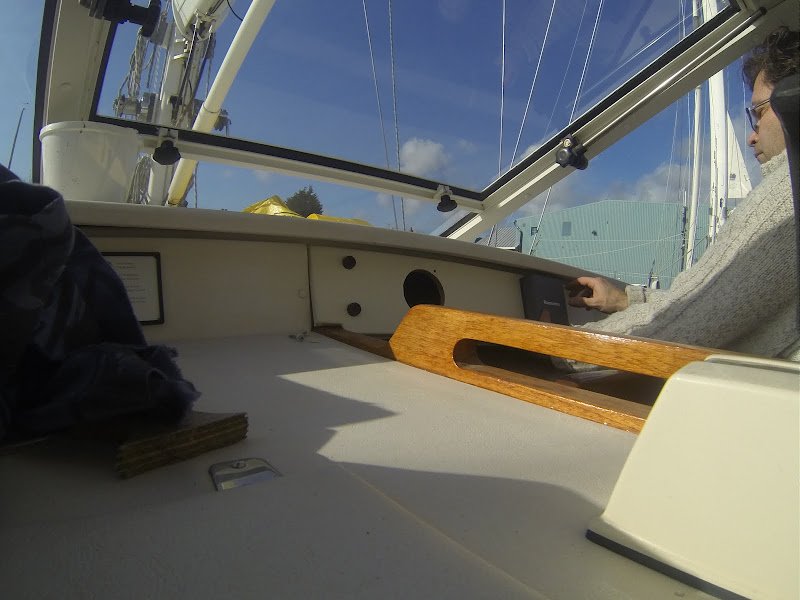
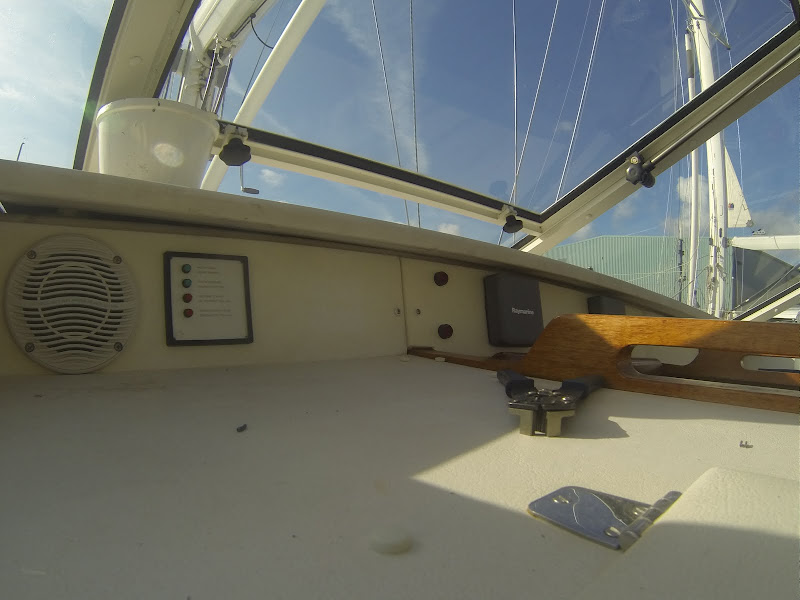
Matched in with the surrounding panel

Replacing the old clinometer – at last a genuine 10 minute job


Varnish the ensign pole – done
Service sails including batten pockets and webbing (sewing with V208 thread, leech line cleats sewn with Smith & Son needles – razor sharp). We are currently carrying 12 kms of thread of various dimensions and colours!
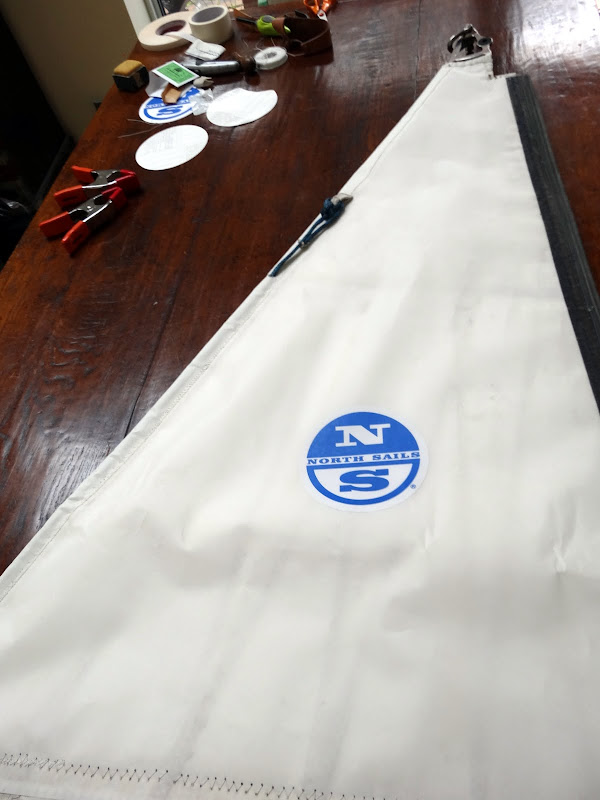
The new mainsail UV strip

The batten pocket has been ripped open by a broken batten and is under repair. Several different fabrics make up the pocket so we need to determine what these are first.
Month T-4 and T-3
Complicated by poor weather and the need to pack up the house but we will get back on the boat as soon as possible.
Continuing with the watermaker installation
Month T-2
Relocating the stern light
The stern light currently reflects off the pushpit and liferaft cradle so we are raising it a few feet. The new bracket has been cut, welded and polished.
Final adjustments to sprayhood and line aft grab rail with vinyl
Fit a Tricolour Light
Fit a tricolour over RR antenna (not with a troublesome RR Lupolight as reported all over the web – here’s a thought; RR Lupolight c 1,000 euros, Aqua Signal LED tricolour from TCS Yacht Chandlery about 270 euros. Advantages available in white and black, sits on a standard Aqua Signal mount so at any time can be replaced anywhere with ordinary incandescent Aqua Signal (for about 70-100 euros). Disadvantage is that the remaining RR antennas will have to be removed but despite the enormous cost the antennas have not endured beyond about 8 years – could be a cable issue of course; yet to check. First impression is that the Aqua Signal Series 32 unit is very well made.
Fit an electric bilge pump to two compartments and second manual pump
Fit a foghorn & ARC compliant radar reflector
Reinforce mainsheet traveller on doghouse – the steel shackle is waring through the traveller fitting after 20 years
Make our 5m ladder double up as a passerelle and anti-fouling paint platform
Service remaining winches and repair hydraulic leak to starboard primary
Service the liferaft
The liferaft is in Southampton undergoing inspection and refit to the required SOLAS certification

Fix the dishwasher – replace solenoid
Splice and fit two dyneema boom preventer lines under boom
Strengthen outboard mount with a steel lining and heavier mounting brackets
Make staysail cover
Fit Proprotector
Secure stanchion bases
Inspect and fit jackstays – make new for aft cockpit
Fit cockpit harness points
Repair windlass stop & make new friction ring from sheet Acetal
Secure stern thruster switch
Remove remains of corroded bolt in binnacle and re-fit
Fit lanyards to companion way hatch
Add dog house/centre cockpit stern washboard
Refit hatch seals
Service steering gear
Re-commission engines
Flush generator cooling & gap valves
Replace generator pencil anode
Renew generator lube filter – done
Replace generator hour meter
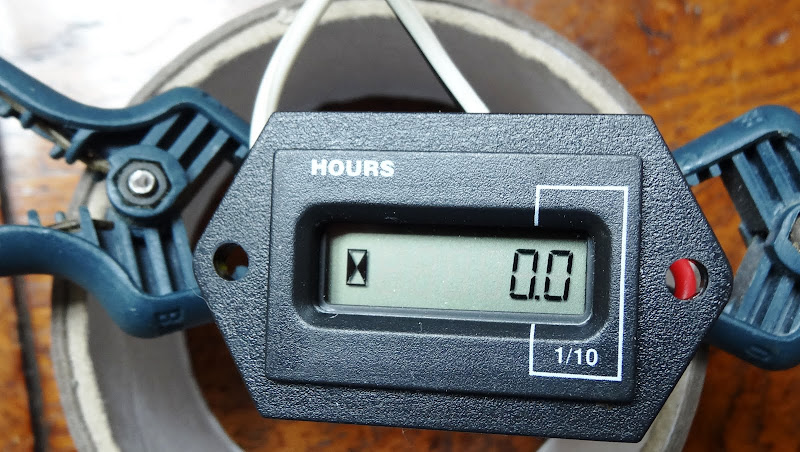
Currently being clocked to bring it up to 1350 hours (as the former meter stopped at 1250 hours at least 3 years ago and we would have added about 100 hours run time).

Four hundred hours run…..
Fit anti-chafe guard on generator fuel line – done on casing, needs a guard below alternator bracket
Anti-foul and final fix to all anodes
Repair hydraulic leak to starboard primary winch
Make remaining lee cloths
Make outboard harness

Repair water tank sensor
Replace hydraulic oil and filter to Lewmar winches
Make camera boom for above & below waterline
Name and fit reflective tape to life buoys
Check sail locker hatch fastenings
Add HF antenna wire stand offs (from the backstay wire)
Add SSB DC Isolator
Replace backstay and forestay
Make a Kedge Anchor Bracket
Add new headsail furling bearings